Targeting to go for baking class monthly is still achievable so far. Most importantly, I get to meet up with my girlfriends for the session. Checking out on one another and sharing our updates is something rather luxury for a mom since most of our time is focused on our family instead.
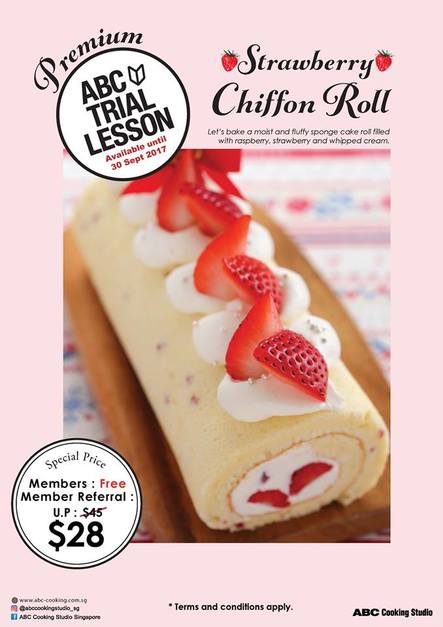
ABC cooking studio have been introducing their monthly premium trial class which is very interesting. I think this is also one of the smart marketing tool they use to entice the members to introduce more friends to their studio or to promote more awareness. For the month of September, the special trial lesson is Strawberry Chiffon Roll. This is very popular among my friends as many of them were asking me to referral them to the class. Referral by member for trial class is $28 instead of $35 (UP $48 for walk-in).
ABC cooking studio have been introducing their monthly premium trial class which is very interesting. I think this is also one of the smart marketing tool they use to entice the members to introduce more friends to their studio or to promote more awareness. For the month of September, the special trial lesson is Strawberry Chiffon Roll. This is very popular among my friends as many of them were asking me to referral them to the class. Referral by member for trial class is $28 instead of $35 (UP $48 for walk-in).
Chatted with Mei Fong & Qiu Ling and we managed to form into a table of 4 so that i can book a premium trial class with the instructor. One challenge i have been facing with my favorite instructor is that she is getting very busy with her schedule as many others will opt for her as well. But i must say, those sessions held by her is very enjoyable in my opinion. No pressure and she is very motivating.
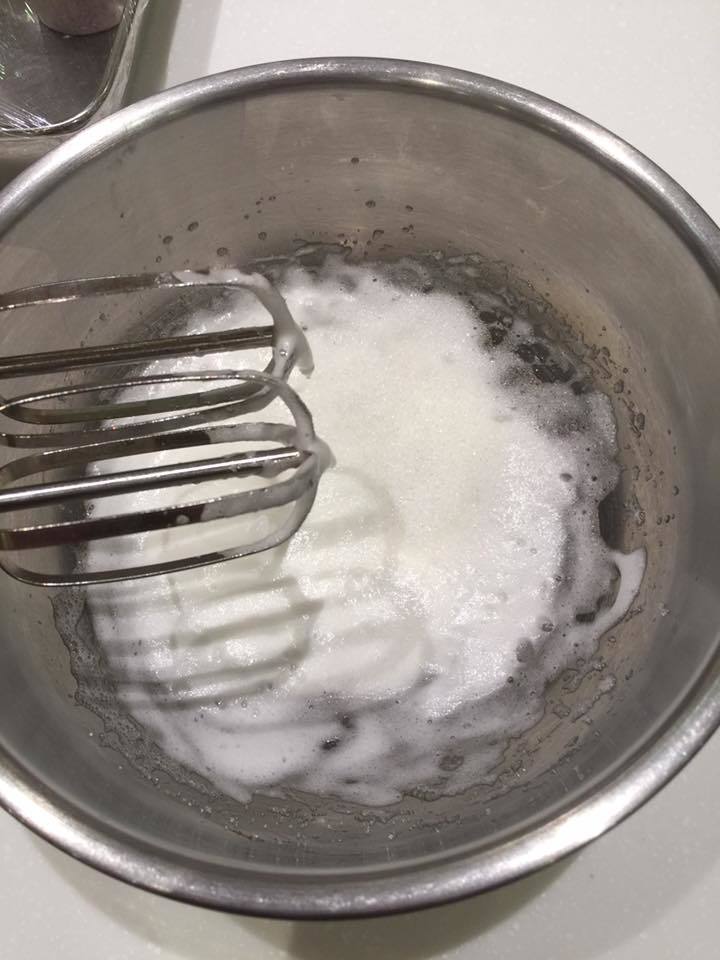
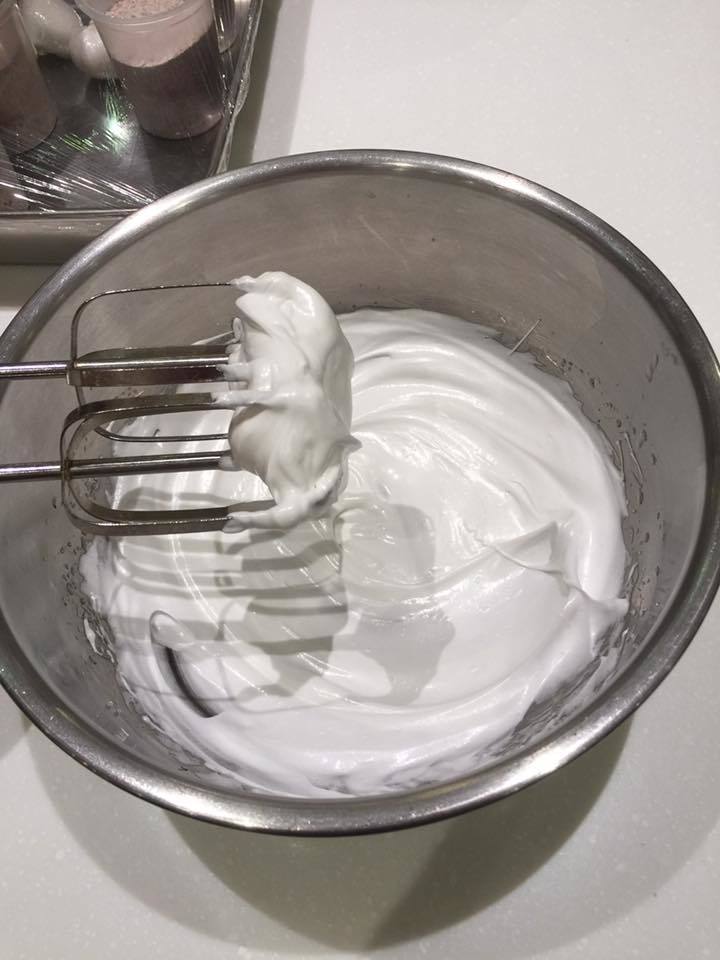
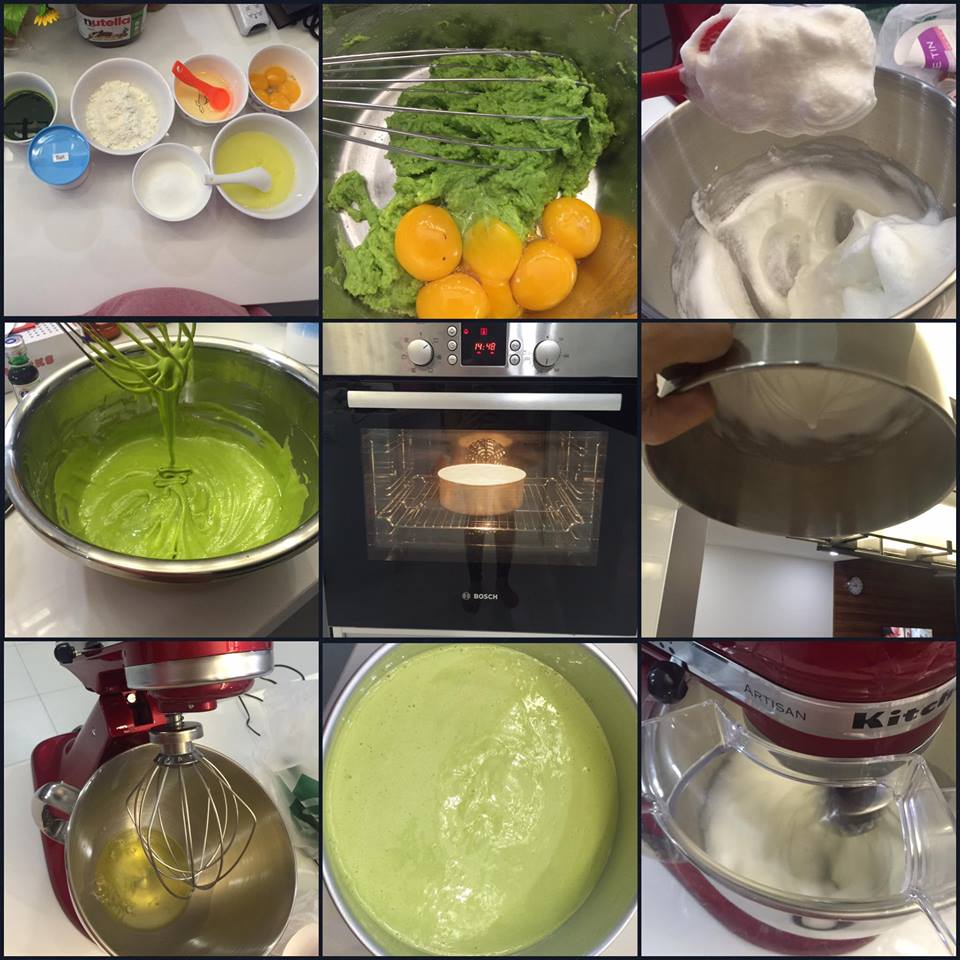
 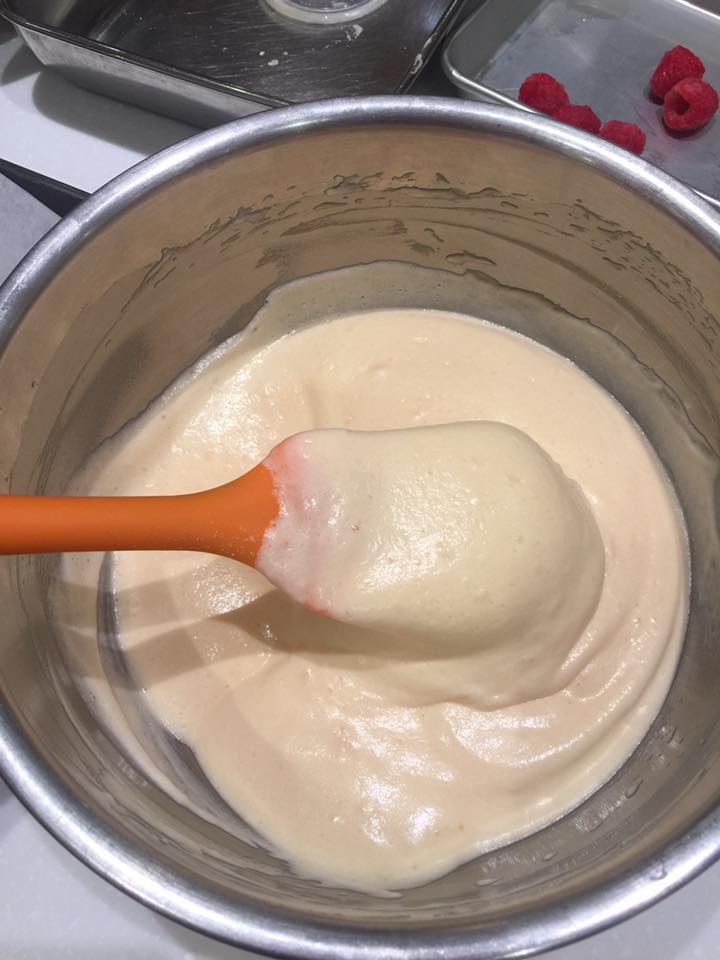 The Japanese Chiffon roll is lighter and fluffier in texture which is a good combination with the light cream filling. The technique used is something different from the usual Chiffon cake where we must separate the “wet” and “meringue” before mixing them together. Instead, we beat up the meringue before adding yolk in and mix well. STEP 1: SEPARATE THE EGG WHITE AND YOLK STEP 2: BEAT THE EGGWHITE while splitting the sugar into 2 portions to add in. Start adding 1st portion when the egg whites are beaten up like beer foams. Continue to beat till soft peak before adding in 2nd portion of the sugar and beat till stiff peak. 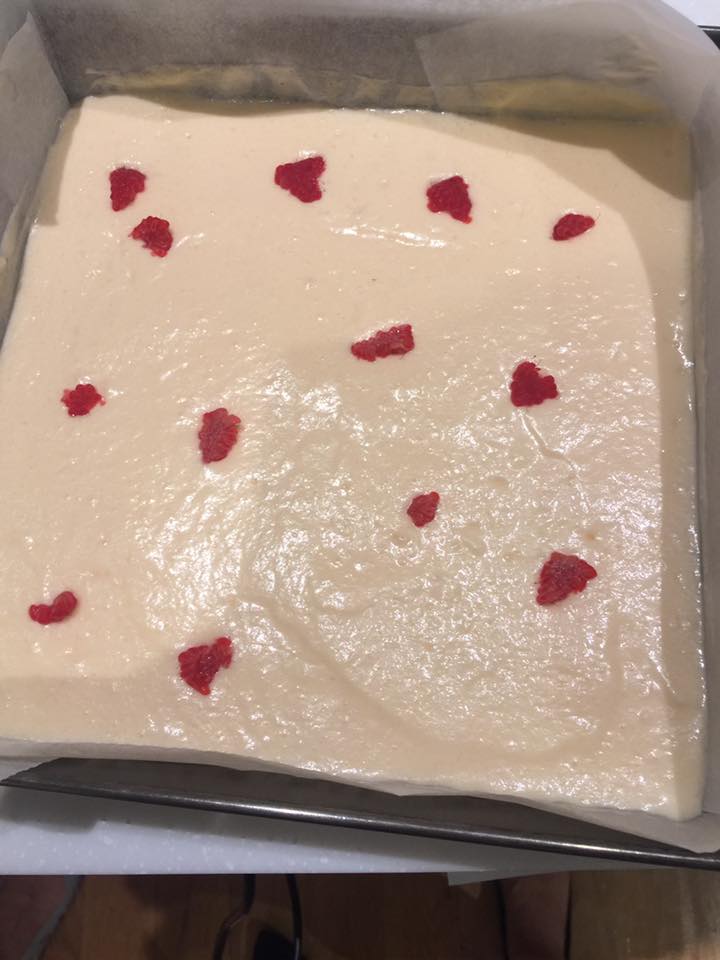 STEP 6: TAKE OUT THE CAKE, cool it on cooling rack and can cling wrap to prevent moisture loss. Upon cool down, slice about 1 cm of the cake edge (diagonally across) to facilitate nice closure for the roll up. We were given the ABC fan to fan the cake so to quicken the cooling process before we move on to make the fillings. | 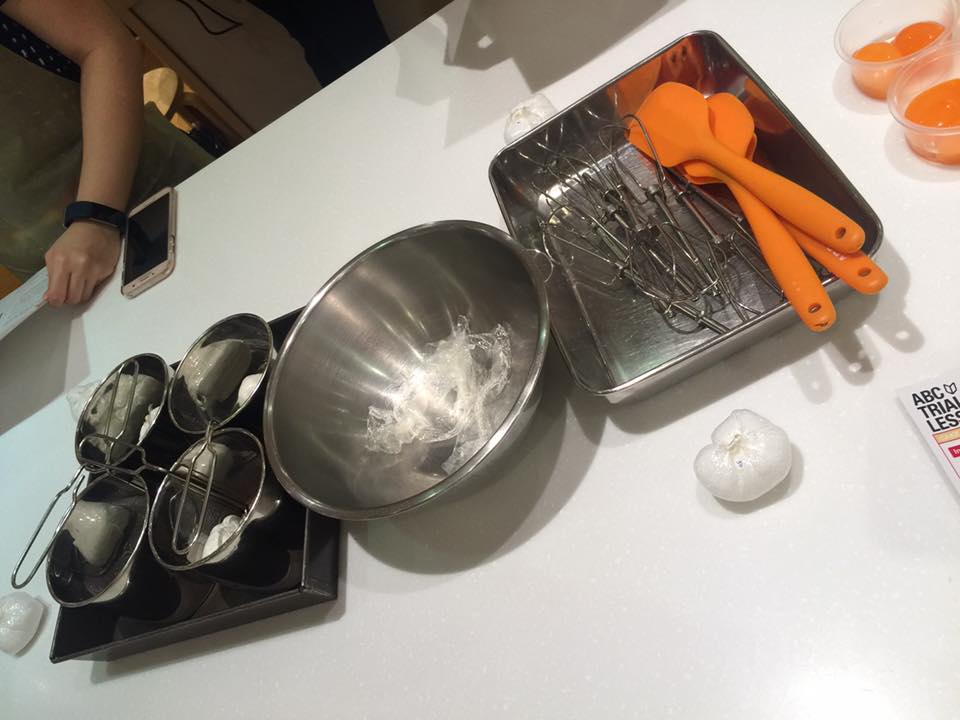 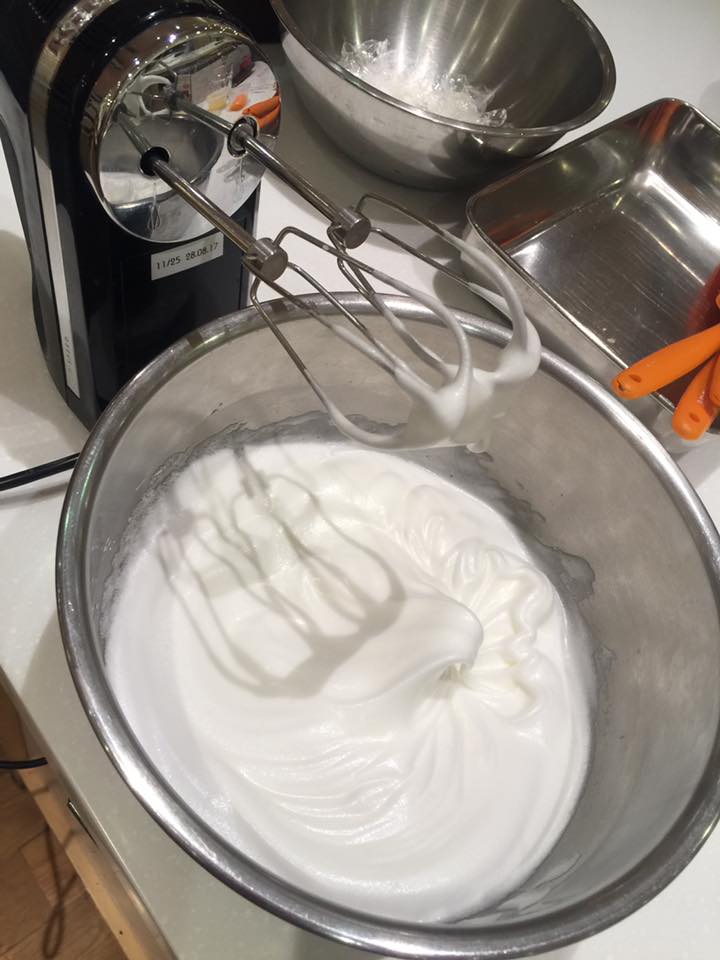 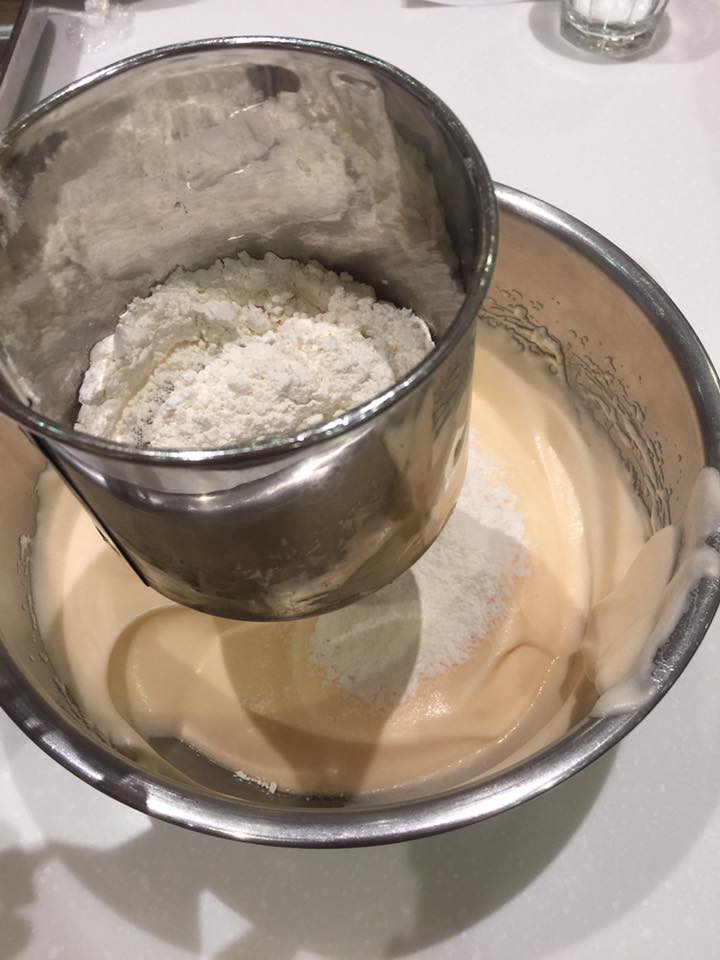 STEP 3: ADD THE EGG YOLKS in one by one while mixing them on low speed. Upon completely mix (do not overmix), sift in the flour and start doing “J fold” STEP 4: MIX MELTED BUTTER, VANILLA ESSENCE AND MILK TOGETHER before adding to the mixture. Add any fruit mixture inside that you like. (Do not overfold). STEP 5: POUR THE BATTER INTO CAKE PAN (at 1 go – to minimize air bubble), and spread the batter across 4 corners first before spreading it evenly across. Tap a couple times to remove air bubble before we can send it in to bake. 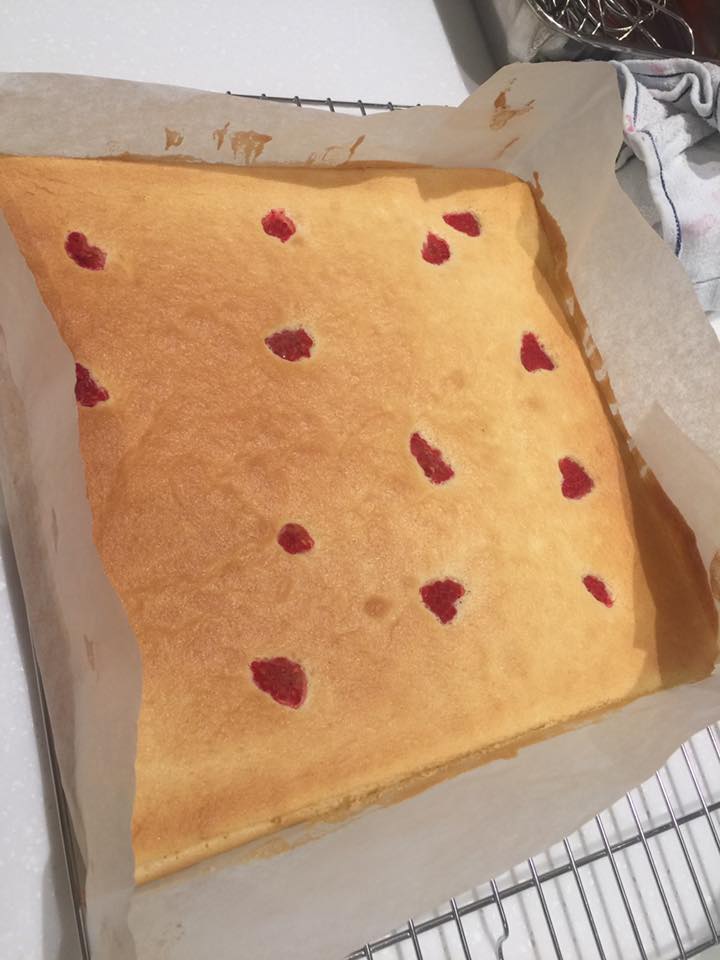 |
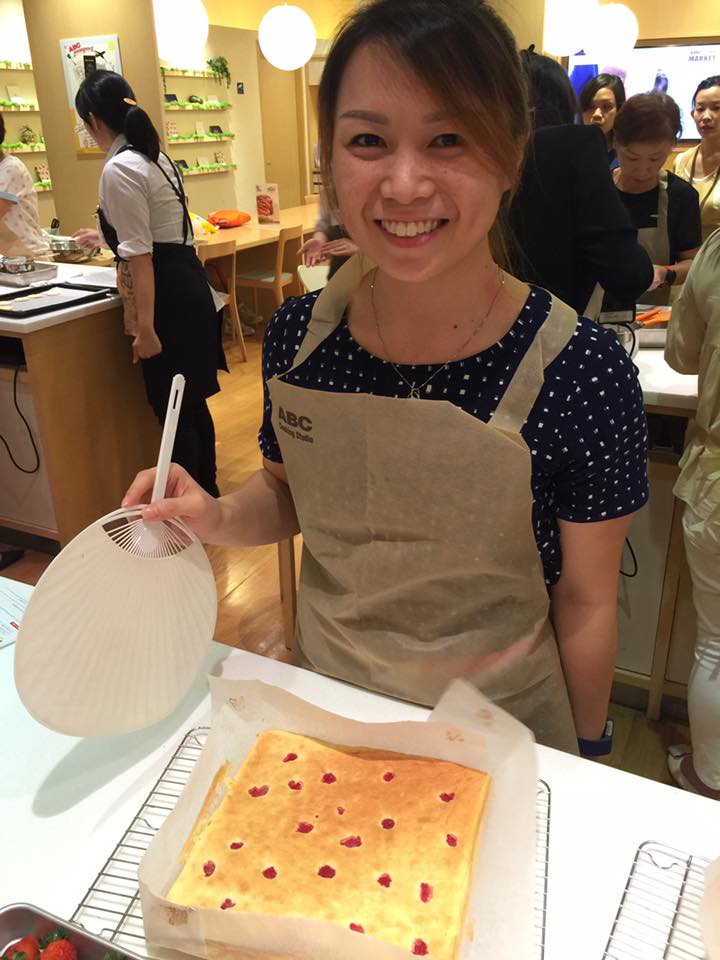 jiejie | 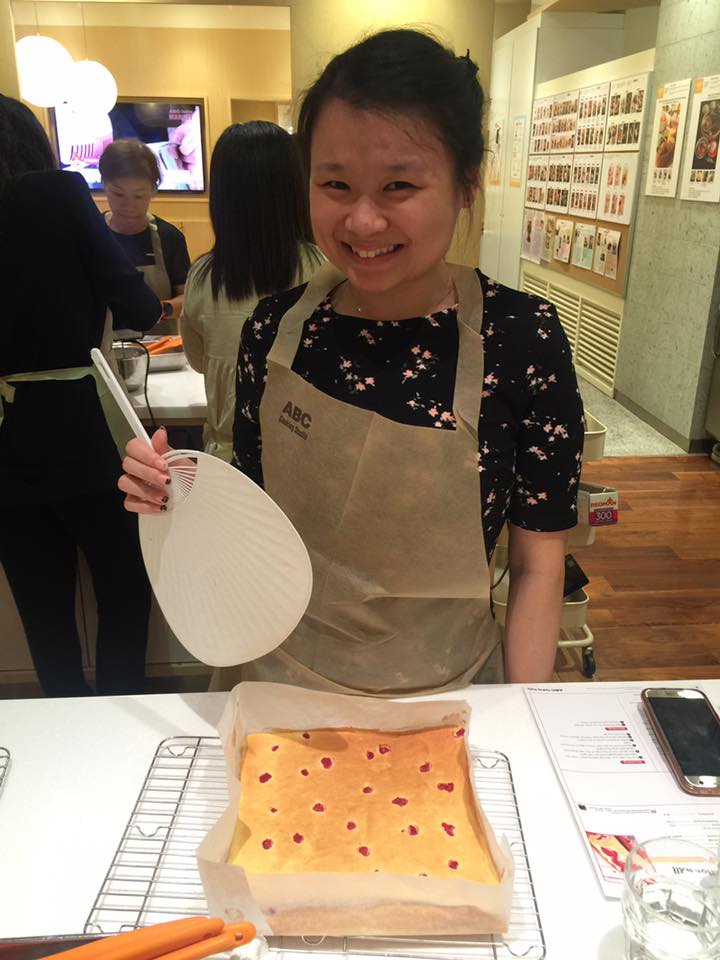 meimei |